Showing posts with label glue gun. Show all posts

Thursday, November 10, 2011

Christmas Button Earrings

No, I promise I have not forgotten about thanksgiving and fall. I will come back to it; I promise I have something planned. But these turned out way better and easier than I thought they would.
Here is what you need:
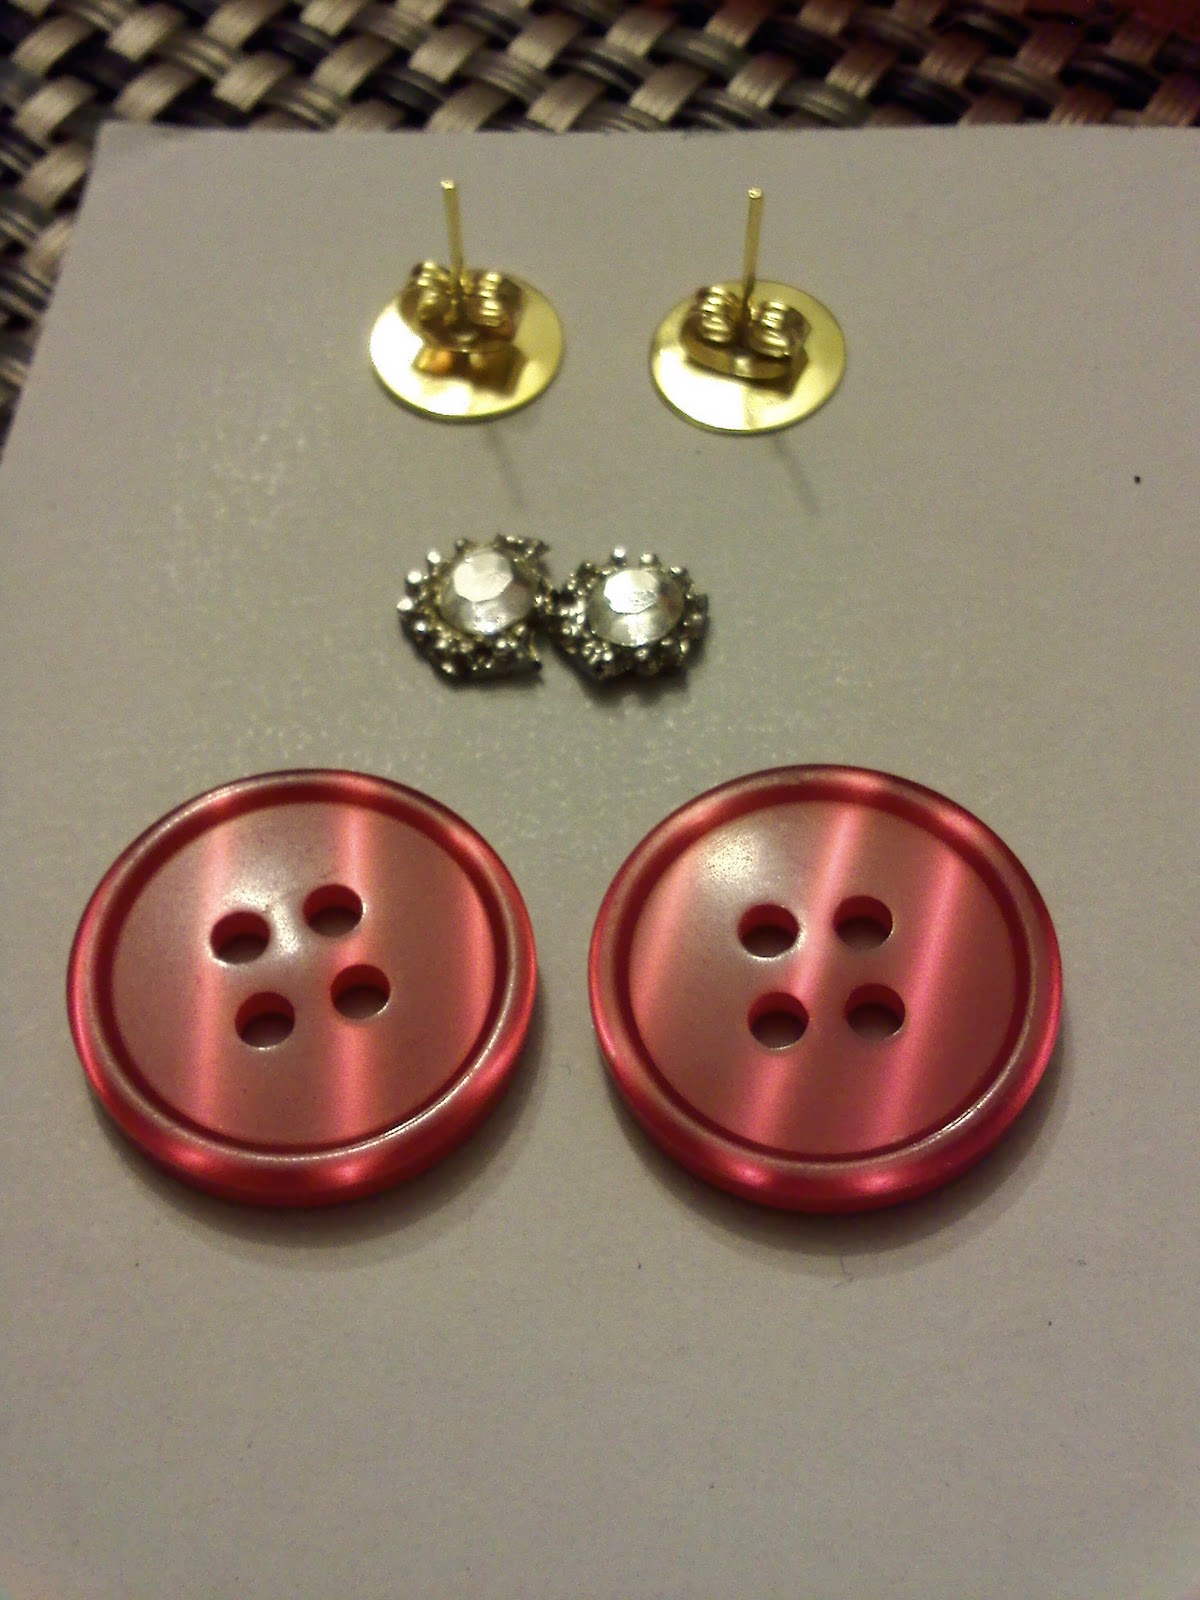
earrings
buttons
jewels 
glue gun (if you want a super strong hold, you can use E6000 )

 Glue the top and hold, glue bottom and hold.
 How simple was that?

I hope you enjoyed this quick tutorial :)

Friday, November 4, 2011

Past Creations and First Giveaway


Get ready for lots of pictures! This summer I made lots of mini projects and a big one. Enjoy!
I made this frame for my lovely niece for her birthday.

This is one of my favorites. It can be worn on a headband or necklace.

I made these for my sister, Liliya. I used buttons and fabric flower petals.

Love the color combo :)


The only picture I found of these. Why didn't I take more? :(   These coasters were
a gift to my someone special.

My Biggest Project

My inspiration 

 My creation

I'm sorry the quality of my pictures really suck. BOO
Anyway, if you want to enter my first GIVEAWAY, leave me a comment below and you could be the winner of this beauty:
or this one!

You choose!
Let's hope this first giveaway is a success :)
If you would like to see a tutorial on any of these, let me know!
*Winner will be announced Monday morning!


Monday, October 31, 2011

Hair Accessories Tutorial

Good Morning Sunshine!
Astrid


I hope that you have had a wonderful, relaxing weekend. Mondays can be 'blah' and hard to get back into the routine of a busy week. It's not all gray and sad, there is SUNSHINE (that you can wear in your hair!). I promise it will make you feel better, so SMILE! 


Here are your materials: 
Thread & needle
glue gun
hair clip
bead or button 
yellow fabric
black ribbon 
non slip grip pad (is usually used under a rug)
white fabric square (preferably thick)


Step by step:

Step 1: Fold and cut fabric until you have squares. Trim around the corners to make them round.
Step 2: Fold the circle twice to resemble a triangle and stitch the pointed tip to the center of your white square. Then repeat on the opposite side. After you have four (make sure the tips don't overlap), add four more on top (trim them down just a bit or a lot )
Step 3: Tread a bead or button into the center.


Step 4: Glue your ribbon onto the clip. You can put ribbon around the entire clip or just the top part.
Step 5:  Glue the non slip grip strip under the top piece. 
Step 6: You can continue to add one on the bottom (optional).
Step 7: Glue the clip onto the backside of your flower.


Ta Da! 
All done. I hope I did not fail to mention anything. If you have any questions, let me know and I will try my best to answer them. Which is your favorite? I love the button version better. Heads up: watch for my first GIVEAWAY at the end of the week. Enjoy the rest of your Monday!
I love putting it on my belt :)

Sunday, October 30, 2011

Paper Roses


It's Tutorial time! 


Here is what you will need:
Glue gun (you can use other glue but it takes longer)
Paper (I used dictionary pages)
scissors
paint and brushes (optional)

Step 1&2: Choose your paper, fold and cut to your desired shape
Step 3: Trim into your desired shape and paint the edges of the petal.
Step 4: Glue along the straight edge and from one end, begin to roll (cone shaped). 
Step 5: Take the next petal, glue it, and position it in the center and fold the corners. 
Step 6: Repeat, repeat, repeat until you get the desired size.
Step 7&8: All done! You can leave it as is or cut a prepared petal in half and make leaves. 
If you wish, you can make a wreath or bouquets of roses. Have fun and don't get your fingers burnt!